Removing Peanut Butter from Nubby Upholstery/Fabric
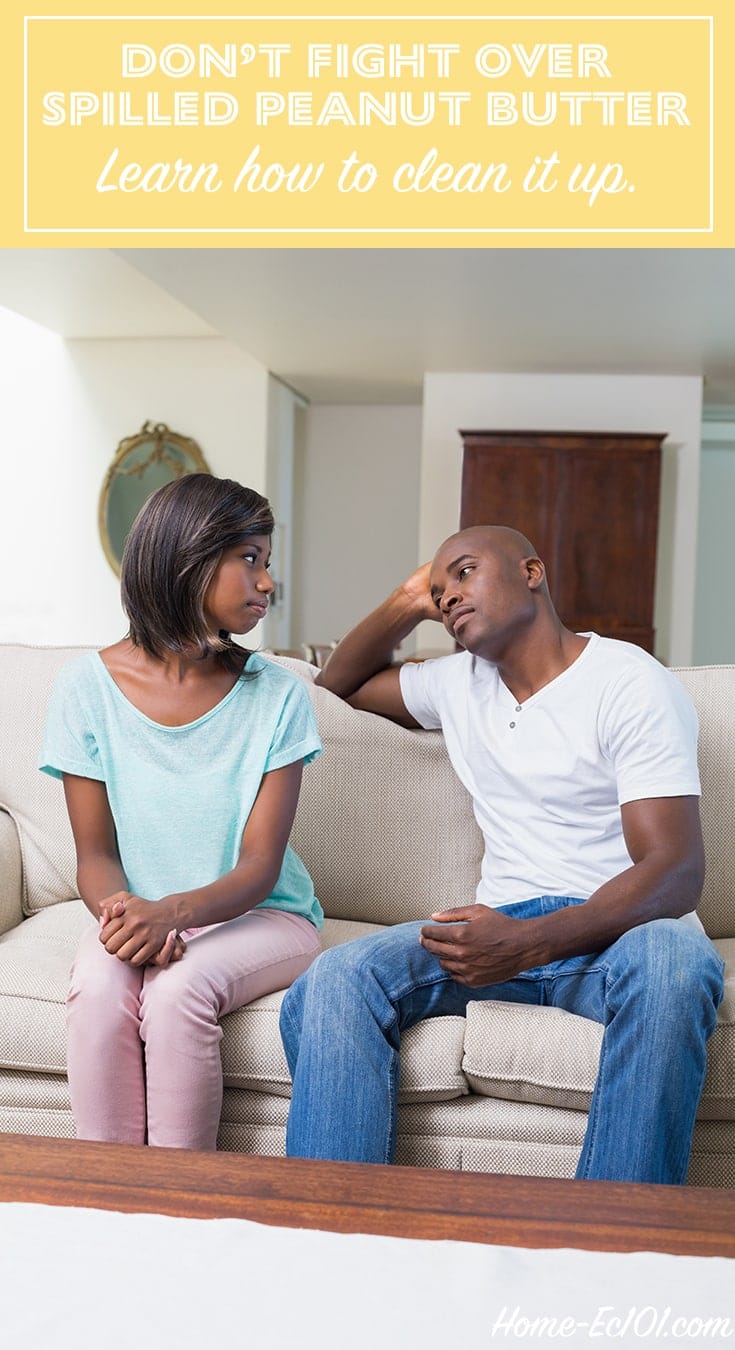
Dear Home-Ec101, My husband dripped peanut butter on our nubby weave couch and rubbed it in when he tried to clean it off. Can you tell me and your readers how to get messes like this out without further ruining the upholstery? Signed, Excuse the Mess, We Just Live Here I dream of the day when …


