Budget-Friendly Chicken Fricassee with Mushrooms and Broccoli

Enjoy this comforting budget-friendly chicken recipe on chilly evenings. You’ll find yourself making it again and again.
Enjoy this comforting budget-friendly chicken recipe on chilly evenings. You’ll find yourself making it again and again.

When it comes to chili, I’m not picky, really. I’ve met very few chili recipes that I haven’t enjoyed. I also know that chili recipes can be highly prized and contentious. .Some feel it isn’t chili if it contains: or that it isn’t chili if it doesn’t contain . I’m just happy you share your …

Updated by Heather in October 2022. Bobbie Laughman added this recipe to Home-Ec101.com back in February 2012. I’ve updated it slightly with new images and my family’s adjustments. Here is a link directly to the recipe for printing, but our adjustments are written out below. Using the Print Friendly option, you can delete images and …

October ’22 update: I used to make this recipe regularly ten years ago when my teenagers were small. I’ve been meaning to make it again for years. I finally got around to it tonight, and they were circling the kitchen like vultures, with no memory of when I used to make it before. “What is …

This budget-friendly recipe for stroganoff made with ground beef, mushrooms simmered in a gravy made with paprika, red wine, beef stock and sour cream is excellent for weeknights!

This recipe is a riff on Wicked Noodle’s Chuck Roast with Balsamic and Dijon. It was originally posted on this site back in 2015, but has been updated in 2022. I’m not a super huge thyme fan so I went with garlic, but you can do whatever makes you happy. I know I said three …
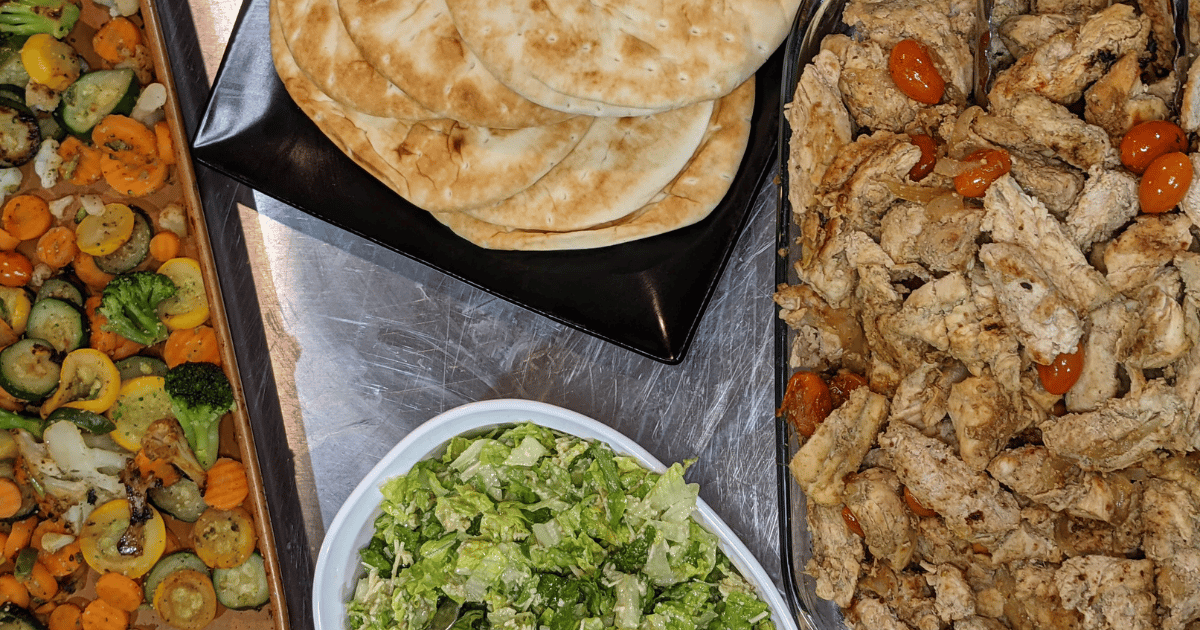
I had a hard time coming up with the name for this shawarma-inspired chicken dish. Why? I don’t want to be culturally appropriative as this is not at all authentic. The flavors, however, remind me of chicken shawarma I have had in the past and hope to have again someday. (I miss traveling so much.) …

What’s your favorite comfort food? Our family’s recent go-to is baked spaghetti, I belong to a group on Facebook for food lovers that also enjoy True Crime. It has the absolute best name (it’s for fans of My Favorite Murder) Parsley, Sage, Rosemary, and Crime. Isn’t that just the best? Anyhow, one of the more …

First of all, everyone hates a meandering recipe introduction, even for pot roast. I know this. This is not an introduction. This is the methodology, not a story about how I met the cow named Gertrude and harvested the carrots from organic compost. The recipe card is shorter to keep it to one printed page. …

My kids call biscuits and gravy their favorite struggle meal. For me, sausage gravy is my favorite I-don’t-have-enough-energy-to-deal-with-anything-recipe. All of my teenagers now know how to make sausage gravy themselves, and I keep a few cans of biscuit dough in the fridge for the nights of no energy or time. Yes, homemade no-knead biscuits are …