
 Heather says:
Thursdays mean clean bathrooms here on Home-Ec 101. Don’t believe me? Please check out the printable weekly chore chart or look at the ever-popular sticky note right there –>.
What if you’re a Home-Ec n00b? Don’t be ashamed. We all start somewhere, and not everyone’s parental units taught them essential life skills like cleaning toilets.
It’s okay.
It’s what keeps this site going*. (Parents, don’t teach your kids anything, I’d like to be helpful for the NEXT generation, too.) I kid, please teach your kids to clean. . . Please? If for no other reason to get a break from doing it yourself for a few precious years. As my own kids slowly begin taking over chores, I’m starting to think that’s what empty nesters actually miss, the ability to persuade, bribe, or sometimes even just ask someone else to take over the chores we hate.
Today we’re going through a bathroom cleaning how-to. (Would anyone like this in video format? I can probably pull that off now)
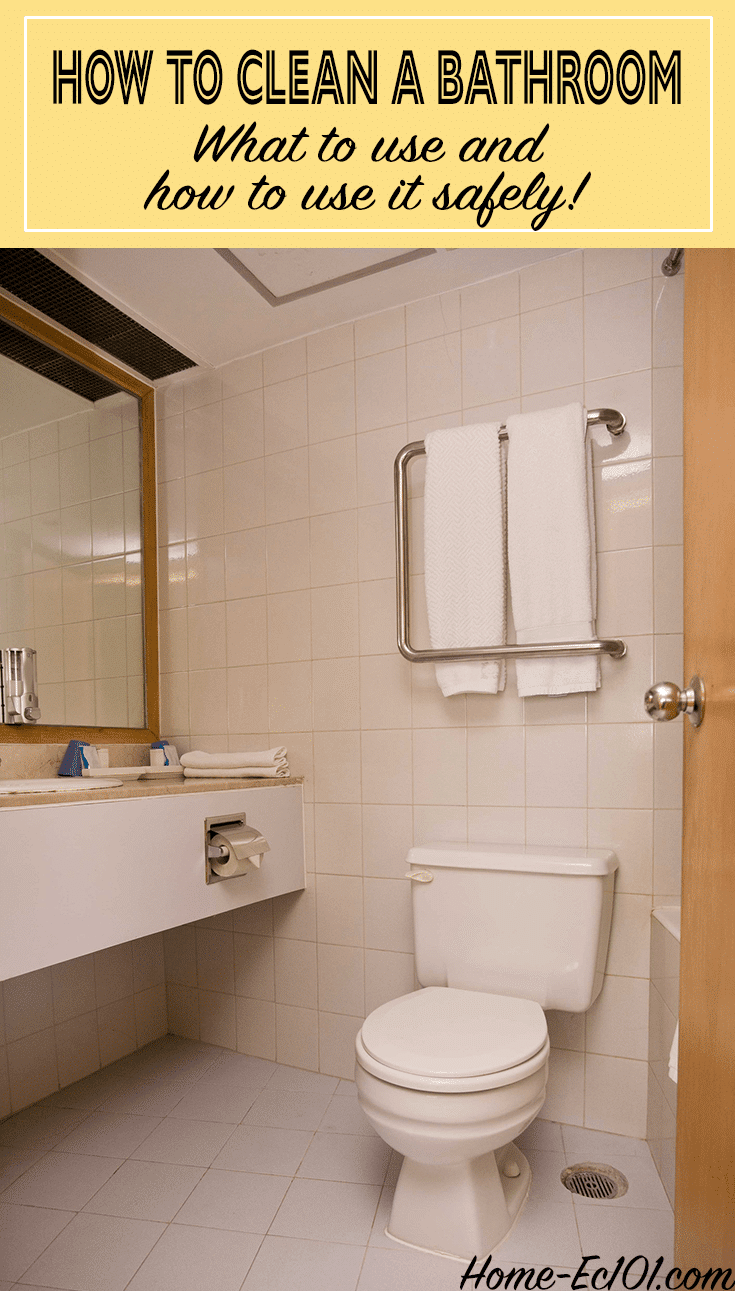
How to Clean the Bathroom
Remember how to clean like a professional?
Say it with me: Top to bottom, left to right, dry to wet.
Before you choose your bathroom chemicals, I’d like to point you in the direction of the Home-Ec 101 Guide to Household Chemicals (I got rid of the ones you probably wouldn’t even think about using in the bathroom). DO NOT MIX BLEACH with anything. Got it?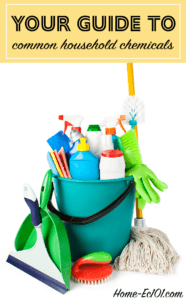
- How to Use Chlorine Bleach Safely
- How to Use Rubbing Alcohol Safely
- Hydrogen Peroxide and Oxygen Bleach (You’ll probably only use this stained grout)
- Is Synthetic or Distilled Vinegar the Same as Cider Vinegar for Cleaning?
- Is Vinegar a Safe Alternative for Chlorine Bleach
- Use Caution with Homemade Cleaning Solutions and NEVER Mix Bleach and Vinegar
- How to Use Bar Keepers Friend
- What is Sodium Percarbonate (back to the grout)
So, let’s gather our bathroom cleaning supplies (this is for heavy-duty, deep clean, you don’t need ALL of these items every time, keep what you use daily in the bathroom if possible)
- Broom (if the exhaust fan is dusty, you may want a foxtail or whisk broom and step ladder, or grab an old pillowcase and put that over the broom straw)
- Vacuum preferably with a soft-bristled brush
- Rags
- Paper Towels or coffee filters or newspaper -for the mirror/window
- Bucket
- Mop
- Grout Brush -if you have tile
- Acid-Based All-Purpose Cleaner
- Bar Keepers Friend -not for use on acrylic
- Q-Tips
- Squeegee -optional
- Window Cleaner
- Carnuba Wax – optional
- Fan -if there isn’t a window/exhaust fan… bathroom cleaning should always be done in a well-ventilated situation.
Let’s get started with Bathroom Cleaning 101.
Take a deep breath (this is always a good idea BEFORE going into the bathroom), load up your playlist—I swear I’m going to get the Home-Ec 101 Cleaning Playlist done one of these days; until then, make a fun list on Spotify. I like Glee to an embarrassing degree. We all have our dirty little secrets.
Now open the bathroom door all the way and then open the window or turn on the exhaust fan.
I used to clean a lot of bathrooms—three at home and six at work. Thankfully my kids generally aren’t as nasty as drunken men, but sometimes. . .
Clear the room. Put all of the items on the vanity or counter somewhere else. Take any rugs that need to be washed straight to the laundry, unless you tend to clean down the rabbit trail and in that case, just ditch them outside the door. Do the same for any hanging towels. Don’t forget to clear out the “library materials,” too.
Start at the top.
Put the pillowcase over the broom straw and knock down any cobwebs. Grab your foxtail or the vacuum with the soft bristle attachment and vacuum the exhaust fan.
Wipe the light fixtures with a rag. If they are particularly gross, run them through the dishwasher or use glass cleaner applied to the towel, not sprayed onto the fixture to clean the globes and all-purpose cleaner to clean the fixture itself. Accidentally break a light bulb off in the socket? We can help. Replace any burnt-out bulbs while you’re in there unless that would make your ADD go into high gear.
Sweep off any dry dust and hair debris from counters and ledges. Then thoroughly sweep the floor. If you knocked a lot of dust bunnies into the shower pan or tub and it is COMPLETELY dry, go ahead and use the vacuum to suck up that fun mess. Just in case I’m not clear, I mean the vacuum tools, not picking up the entire appliance and putting it into the tub. Got it?
We now conclude the dry portion of your bathroom cleaning project.
Put your toilet cleaner into the bowl. If it’s the kind with the angled neck, you can just squirt up under the rim and call it good for the moment. If not, add the cleaner to the water and give a quick scrub with the toilet brush to make sure there is cleaner all over the bowl’s INSIDE, especially up under the rim. You are not done cleaning the toilet, but close the lid anyway and move on. Chemicals need time to work, and the more you let your cleaner work on its own, the less physical scrubbing you’ll have to do.
If it has been a very long time since you have cleaned your toilet, check out: How to clean a very dirty toilet for some in-depth directions.
Do your painted walls need to be cleaned? Dilute white vinegar should do the trick. Always test in an inconspicuous area, especially with flat or matte finish paints.
Spray your cleaner of choice onto the sink and counter or vanity and, like the toilet, give it a moment to work, unless you like scrubbing at toothpaste deposits.
Next Up – Clean the shower and tub. (Here’s a handy list of tub and shower cleaning related articles)
- How to Clean Up After a Toilet Overflow
- How to Clean the Bathtub
- How to Clean a Very Dirty Bathtub
- How to Clean Tile
- How to Repair Stained Grout
- How to Clean Cultured Marble
- How to Clean a Jetted Tub
- How to Get Rid of Hairspray Residue
- How to Get Rid of Pink Shower Mold
- How to Clean Moldy Shower Tile
- Hard Water Spots in the Shower
- Why Do Hard Water Spots Come Back?
And back to the sink vanity and mirror. Again with the left to right, top to bottom thing.
Spray and wipe the mirror, and then use paper towels or rags to finish cleaning the sink and surrounding area. While you’re at it, give the cabinet -if you have one—a good cleaning. Q-Tips can definitely come in handy for this portion of your bathroom cleaning adventure. Here’s how to clean those tight little cabinet corners. (Yes, at one point, Q-Tips did sponsor some content, and this is my old bathroom from 9 years ago, ha!)
Don’t forget behind the faucet and the holes designed to keep your sink from overflowing, as those areas can get pretty funky.
Is your sink not draining properly? It may be time to clear out the trap, which is a pretty easy project and should take less than ten minutes.
And here we are. It’s time to clean the toilet.
And for that horrible area behind the bolts that attach the seat, I’ve got another suggestion:
Now grab one of your rags, preferably NOT the one used on the toilet. Spray it with a little of your all-purpose cleaner or dilute white vinegar and wipe the grime off the toe boards/ molding. Grab your mop and give the floor a good going over, paying particular attention to the area around the toilet, ESPECIALLY if you have boys or men in the house.

Replace all of your bathroom towels, rugs/mats after the floor is completely dry and call it a day.
Regular maintenance will prevent this chore from needing this level of intensity in the future.
I need a nap.
Send your domestic questions to helpme@home-ec101.com.

I thought bathrooms were self-cleaning. Like ovens and dog bowls.
MichaelCarnell dog bowls huh? My dog’s bowl gets naaaasty.
Dog bowls should be cleaned daily. They can get sick from dirty things, just like humans!
I bought several dog bowls from the 99 cent store. I change them daily. I just wipe them out and put into the dishwasher. I use them for my dogs water, also for his food.
As a person with 17 dogs, more or less, in my home at one time (!), I have learned to only use stainless steel dog food and water bowls; they wash up quickly (I’m the dishwasher) and easily, plus there’s less chance for them to be mistaken for a toy.