
 Michele says:
I’ll never forget the first time my childhood friend showed me how to make one of her favorite treats. The recipe was simple: one piece of white bread, squished and squeezed into a compact ball. It was kind of like a bread bonbon, and the thought of it horrified me immensely. You see, I grew up eating sprouted wheat bread—the kind that can lead a child’s mind to wonder about the possibility of those seeds sprouting further during the digestion process—and it most certainly did not squish. It crumbled.
When I moved out on my own, I was gleeful to be able to choose a big, squishy loaf of white bread for my sandwiches. Upon my first bite, I was hit not with satisfaction and delight, but with questions. Is it supposed to stick to the roof of your mouth like this? Why does my sandwich stay squished after I take a bite out of it? And, most importantly, why, oh why am I still hungry after six slices of bread and butter? The answer to all of those questions was a simple one: air.
Store bought bread is the jet puffed marshmallow of the grain industry. Its shoddy ingredients and short production time don’t allow for a proper rise, so the dough is “helped out” with the addition of a quick puff of air. It bakes up airy and light, but the many shortcuts are evident the second you take your first bite and find the bread dissolving on your tongue—and even more evident when you find yourself rummaging through the cupboards for a post-lunch snack an hour after your meal. So-called whole wheat bread isn’t much better, and yet, despite its lack of quality and nutrition, most of us keep buying it. It’s a sweet, carby comfort food, and it’s not like we eat sandwiches every day, right?
We may not eat our daily bread, but what about our children?
How often do they eat toast, sandwiches, or plain old slices of bread in hand? If children today are anything like children twenty-something years ago, the answer is probably pretty darn often. So, what can we do?
Ban bread?
I suppose that’s an option—but before you petition congress, how about you give homemade sandwich bread a shot? Sure, it takes more time and costs more money than the store bought loaves, but what would you rather pay for: time and real ingredients, or convenience, air, and possibly an attorney to write your anti-bread petition?
(Hint: the correct answer is A.)
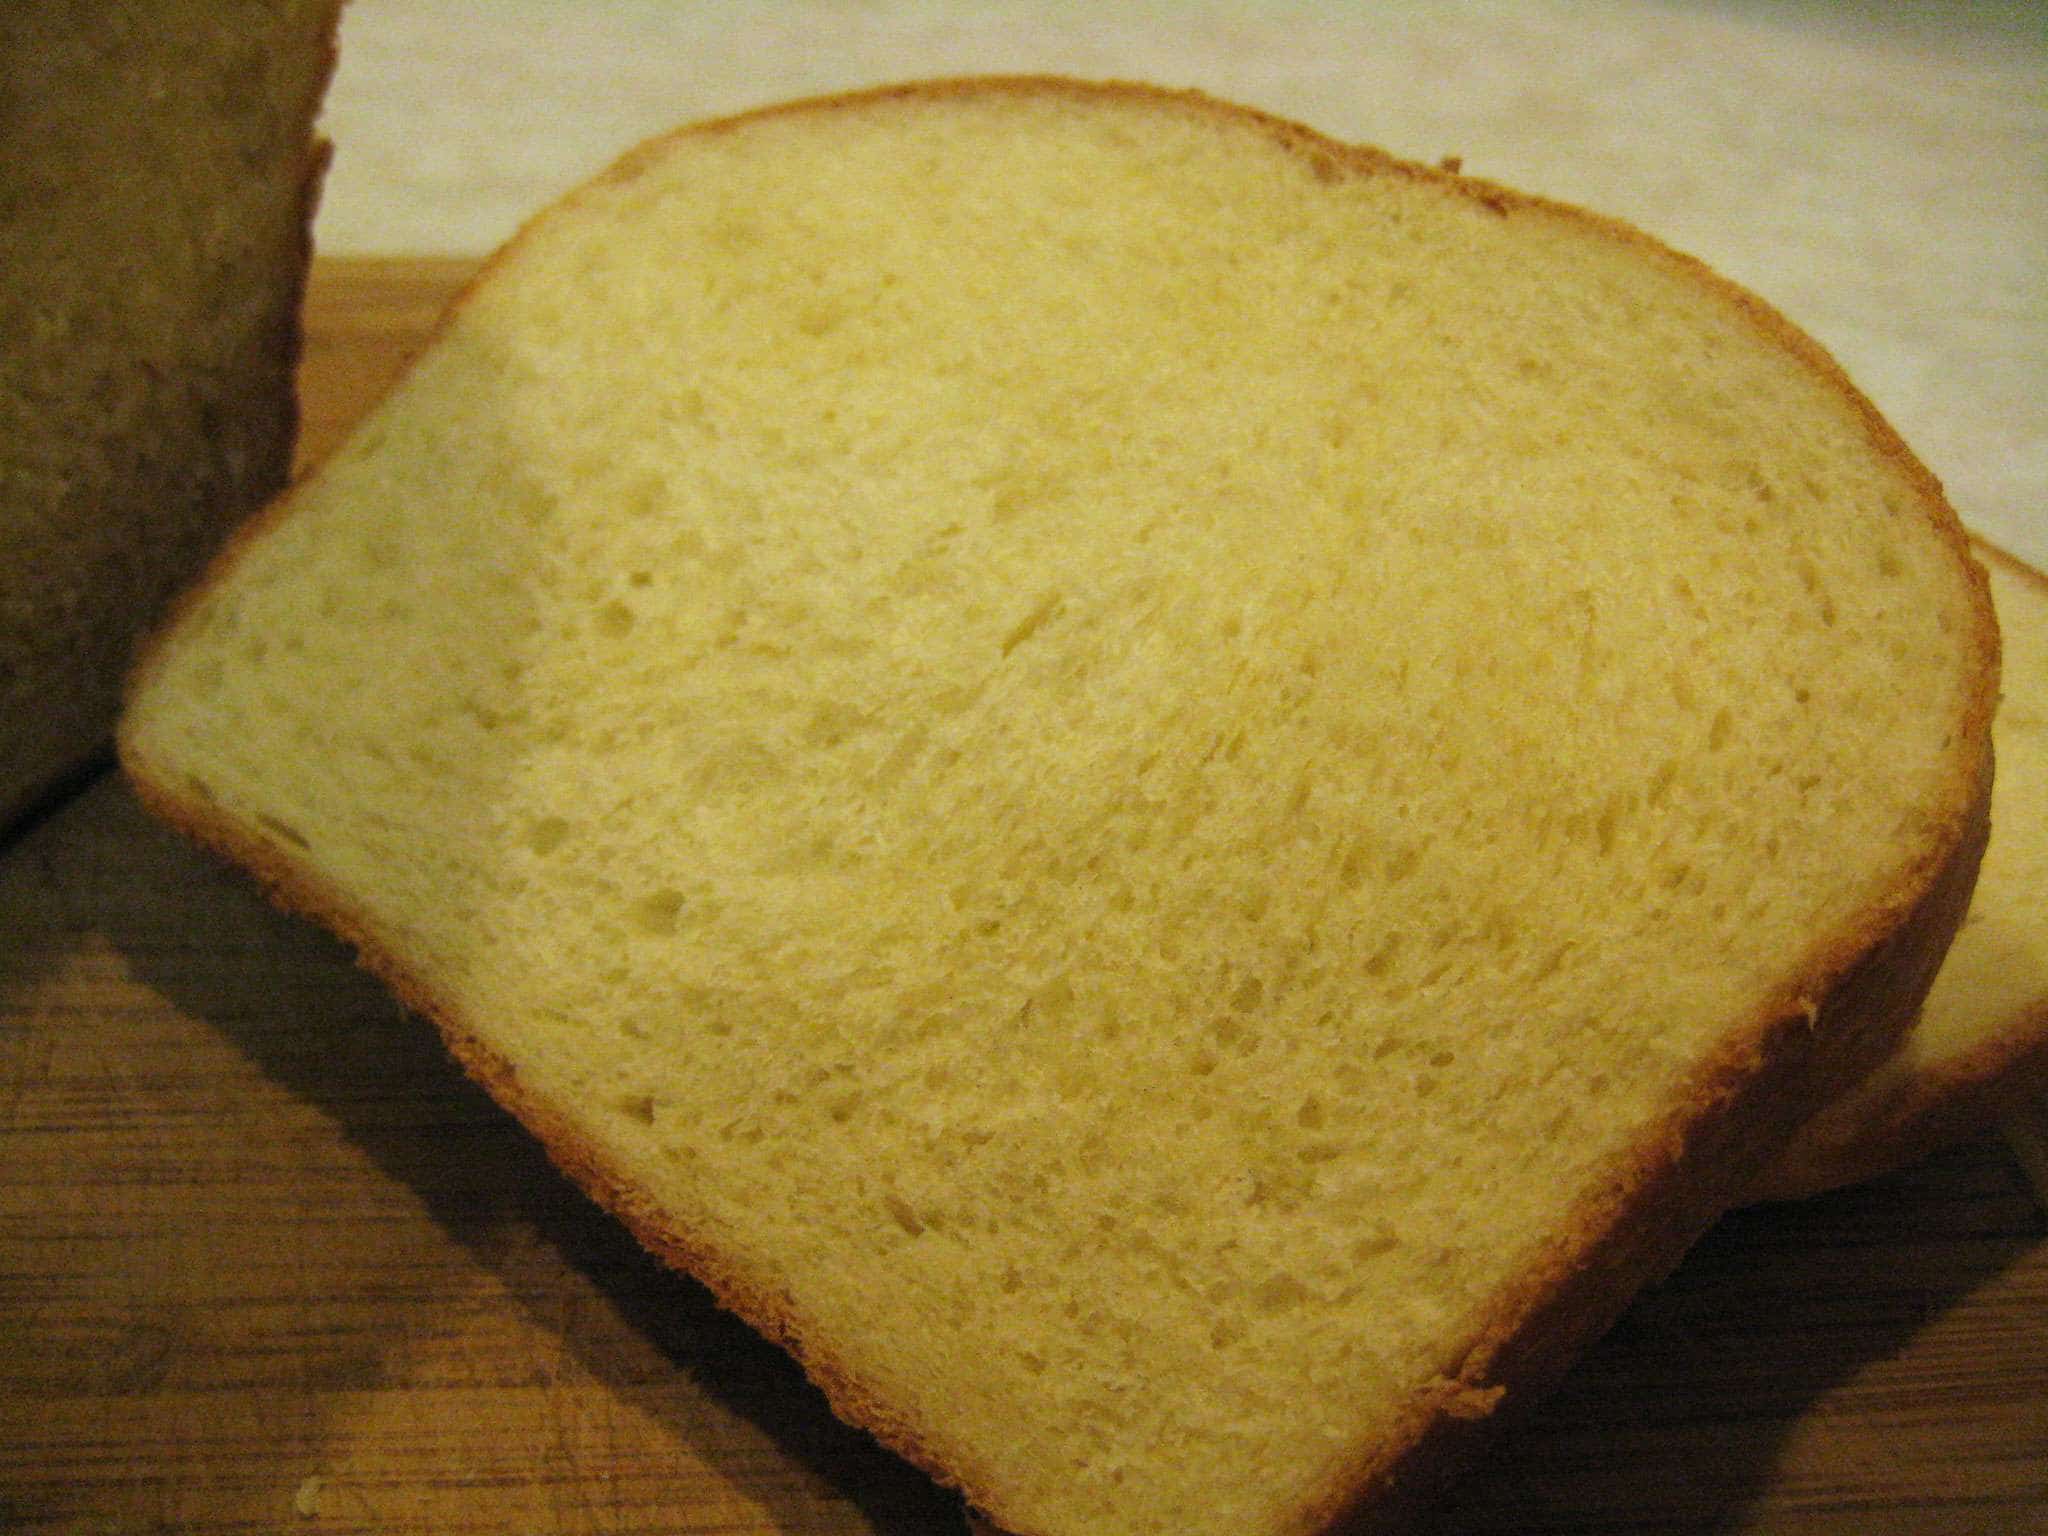
Hearty White Sandwich Bread
Notes: This recipe is skipping many of the step by step pictures that were shown in the post Easy Italian Bread, so pop over there if you’re unsure about something or if you just want some photo reassurance. If you prefer wheat bread, you can substitute up to 1 ½ cups of the flour with whole- or white-wheat flour. Just remember that it will be much denser than the loaf made with all white flour! I cannot stress enough the importance of tightly rolling your bread in step 8. If you don’t pinch hard enough, you’ll end up with bread that you can unwind like a cinnamon roll. Don’t worry about hurting the dough by pinching or squeezing too hard!
- 1 cup warm milk
- 2 teaspoons (or 1 packet) yeast
- 2 tablespoons white sugar
- 2 ½-3 ½ cups bread flour (or high quality all purpose flour)
- 4 tablespoons (½ stick) melted butter, plus more for greasing the pan
- 1 large egg
- 2 teaspoons kosher salt
Step 1: In the bowl of a stand mixer, combine 1 cup of warm milk, 2 teaspoons of yeast, and 2 tablespoons of sugar. Allow the yeast to sit until frothy or “proofed” (as shown).

Step 2: Using the dough hook as a spoon, stir 1 cup of flour into the proofed yeast. Continue to stir until you can no longer see any dry flour. Attach the dough hook to the mixer’s head. (As seen in step 2 of our last bread post.)
Step 3: Add 4 tablespoons of butter, 1 large egg, 2 teaspoons of kosher salt, and 1 cup of flour to the soggy doughy mess. Lock the mixer head and turn your mixer on to its lowest speed. Let the dough mix until all of the flour is integrated (you may need to hold your mixer’s head down if it tries to “walk” off the counter).
Step 4: Turn off the mixer and poke the dough. Chances are it will stick to your finger. Don’t worry; it’s supposed to do that! If your dough is very wet, add an additional cup of flour. If the dough is only slightly sticky, but isn’t wet, add an additional half cup of flour. If the dough is almost perfect, add a scant quarter cup of flour.
Lock the machine, turn it on to the lowest speed, and let it mix in the additional flour until the dough forms a ball and cleans the sides of the bowl. (As seen in step 4 of our last bread post.)
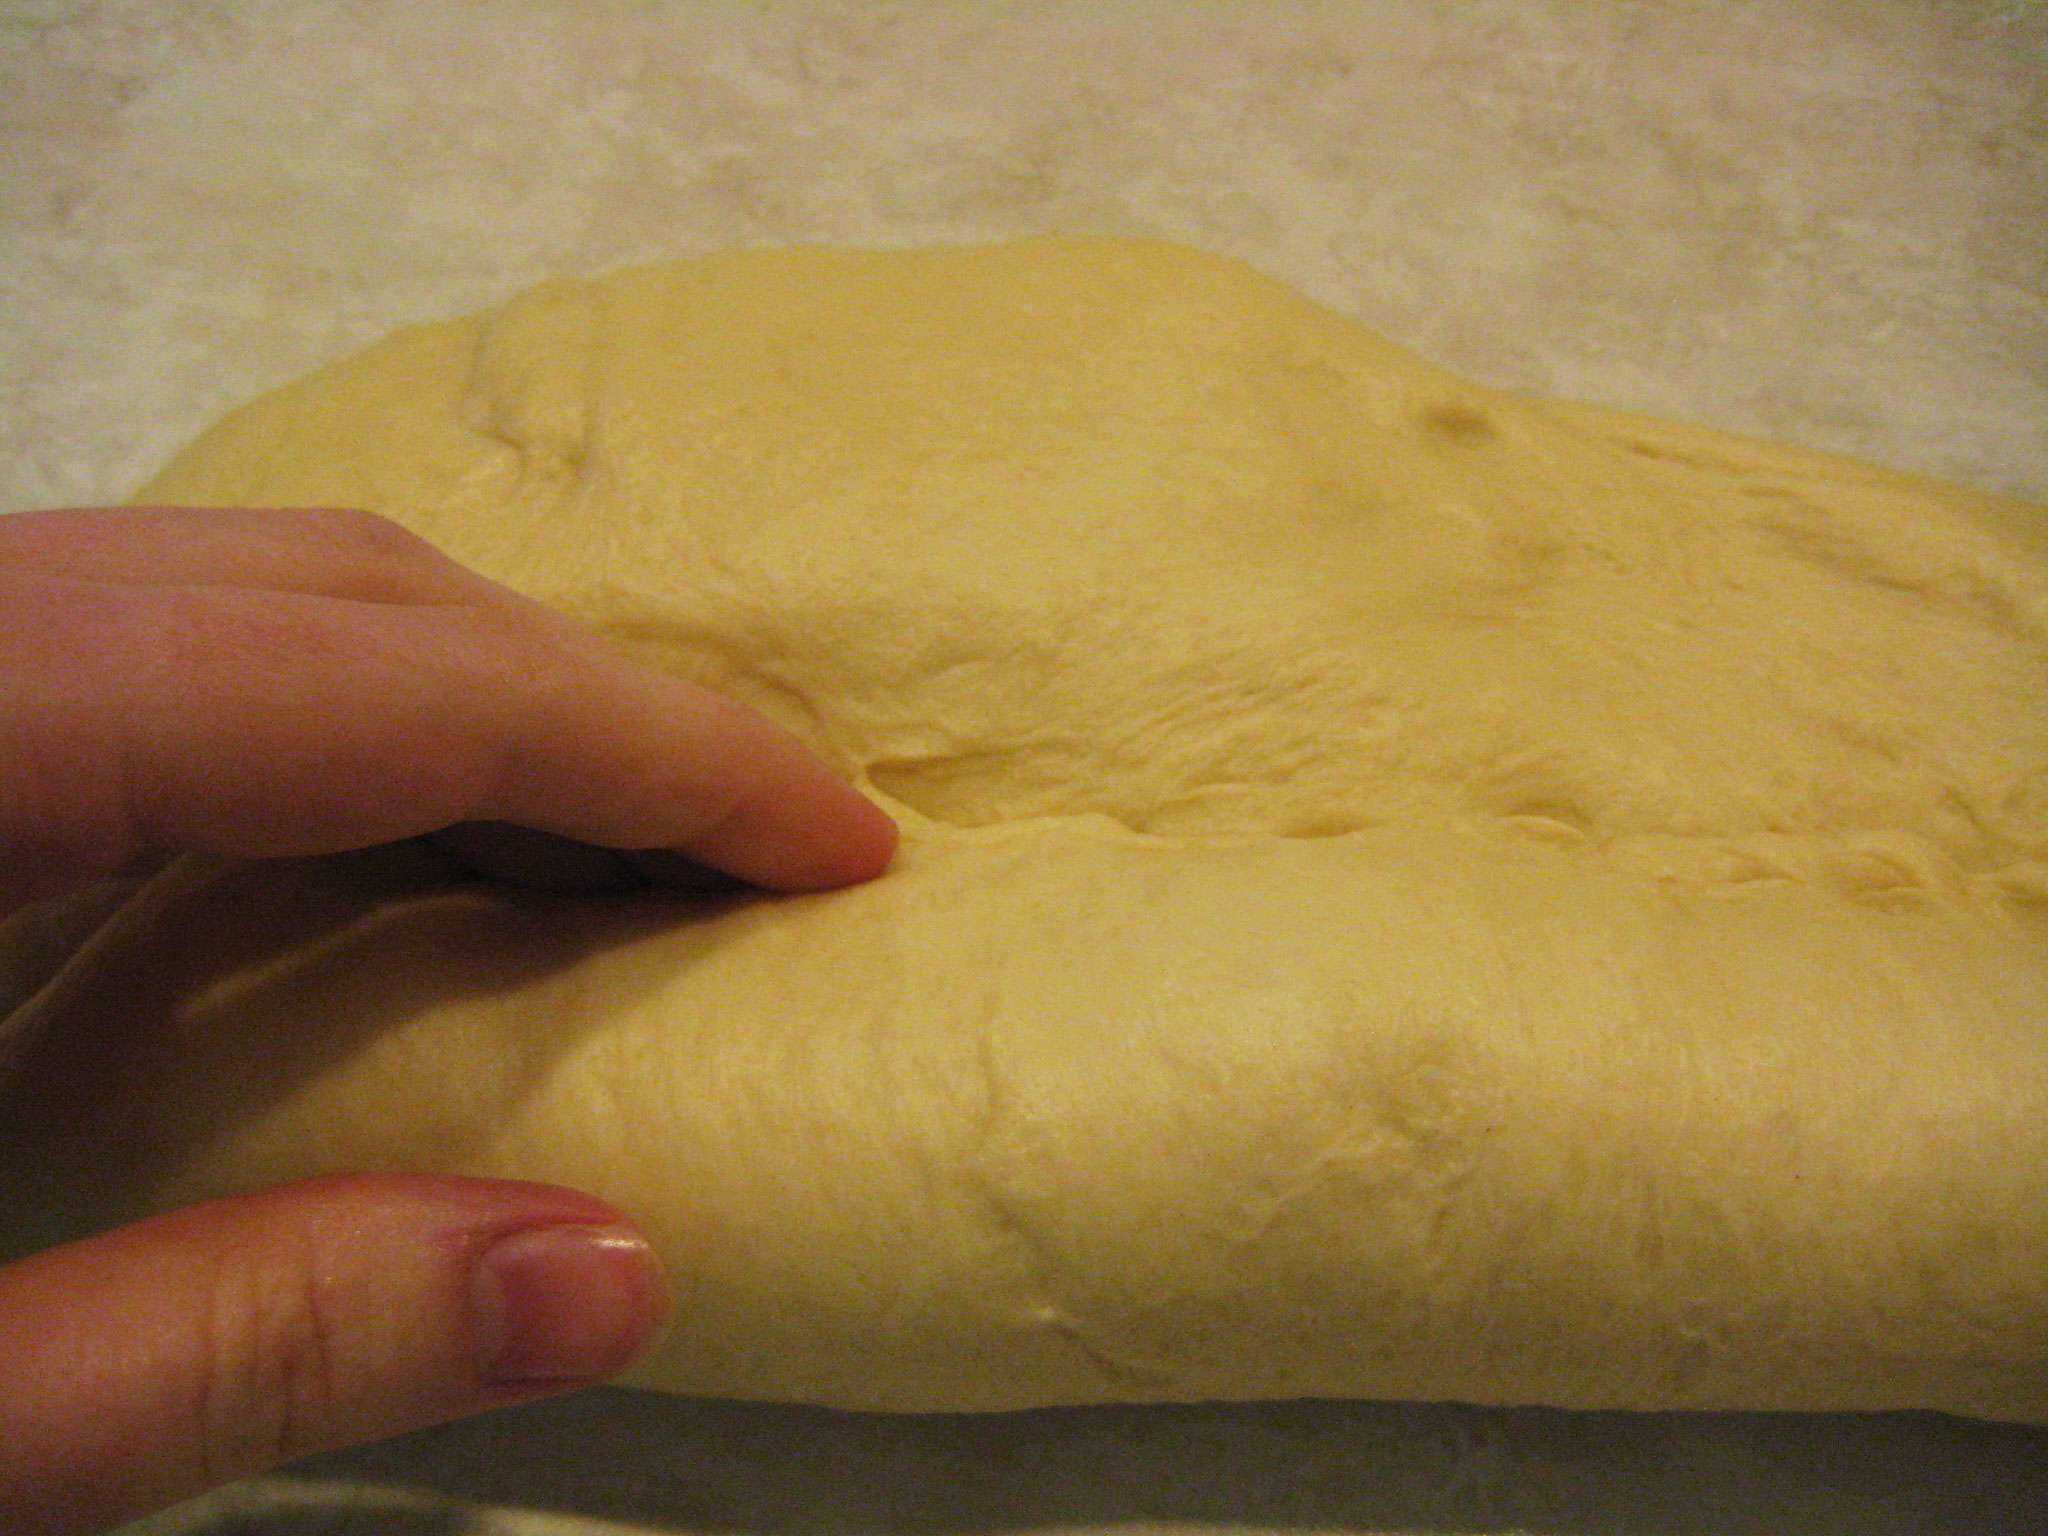
Step 5: Turn off the mixer and poke the dough (again). Does your finger leave an indentation that slowly goes away? If it doesn’t, allow the dough to mix for an additional 2 minutes to further develop the gluten; repeat the test. Repeat step 5 until the dough passes the poke test.
Step 6: Grease a large bowl. Quickly knead your dough into a ball on a very lightly floured counter top. Place the ball of dough into the bowl and roll it around to coat the surface of the dough with oil. Top the bowl with a greased lid (if it has one) or plastic wrap. Allow the dough to rise at room temperature until it has doubled. It took my dough about 90 minutes at a room temperature of 69 degrees.
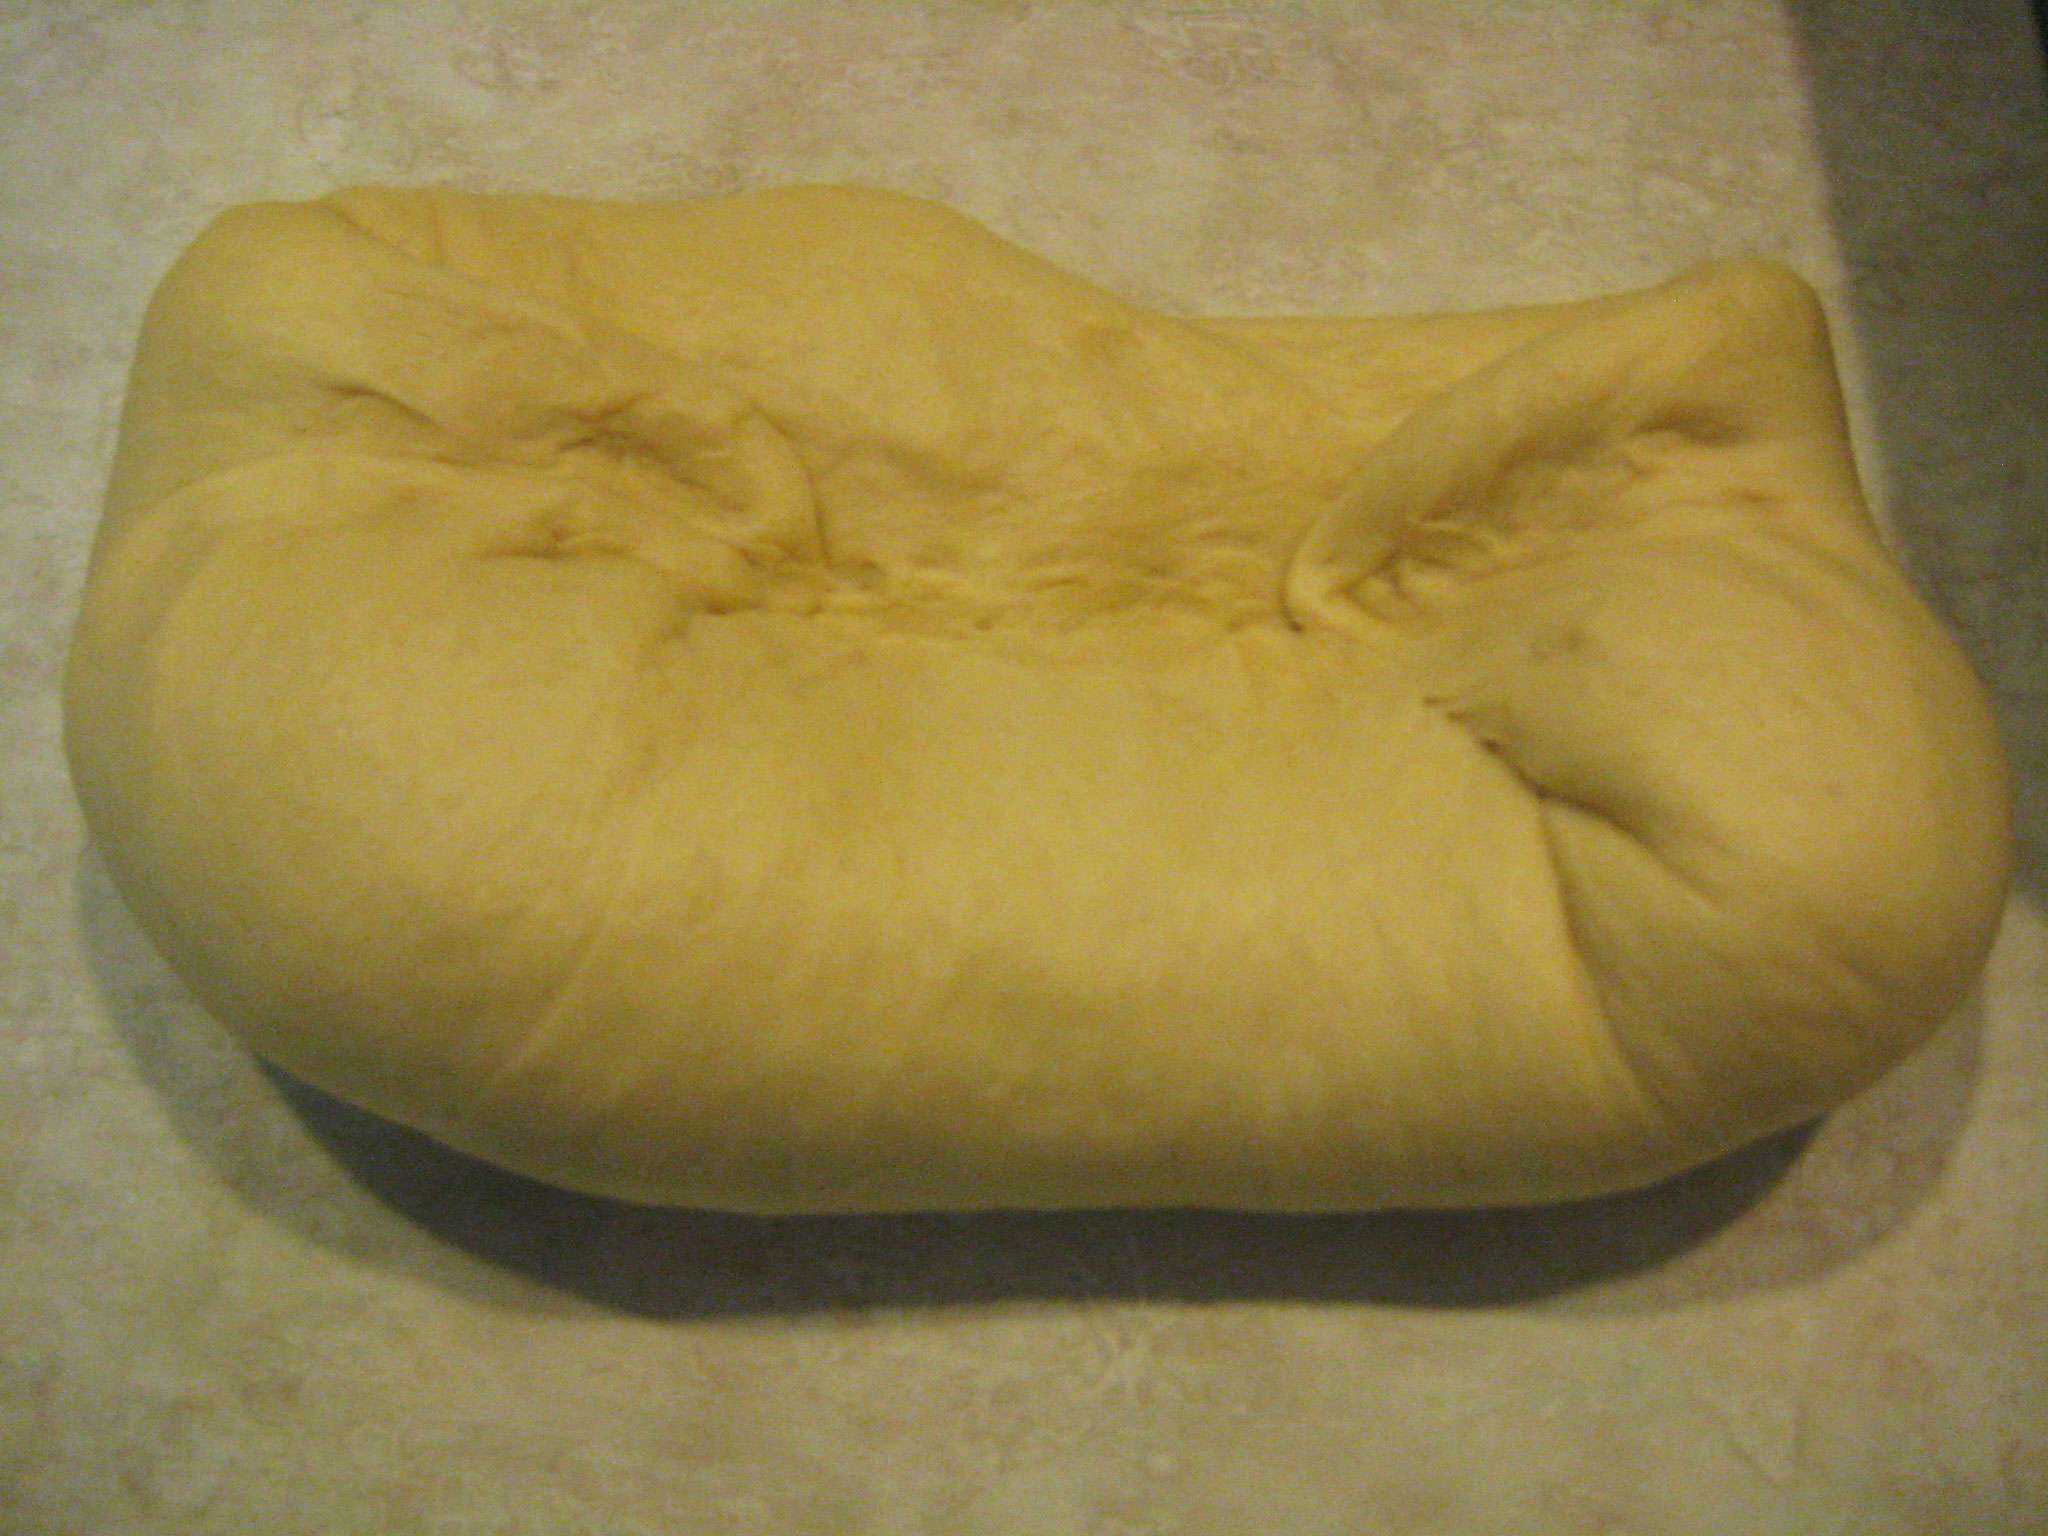
Step 7: Uncover the dough. Punch the dough down with your fist, folding the sides of the dough over as needed to form another ball. Recover the bowl and allow the dough to double again. For me, the second rise took a shade under 2 hours at 69 degrees.
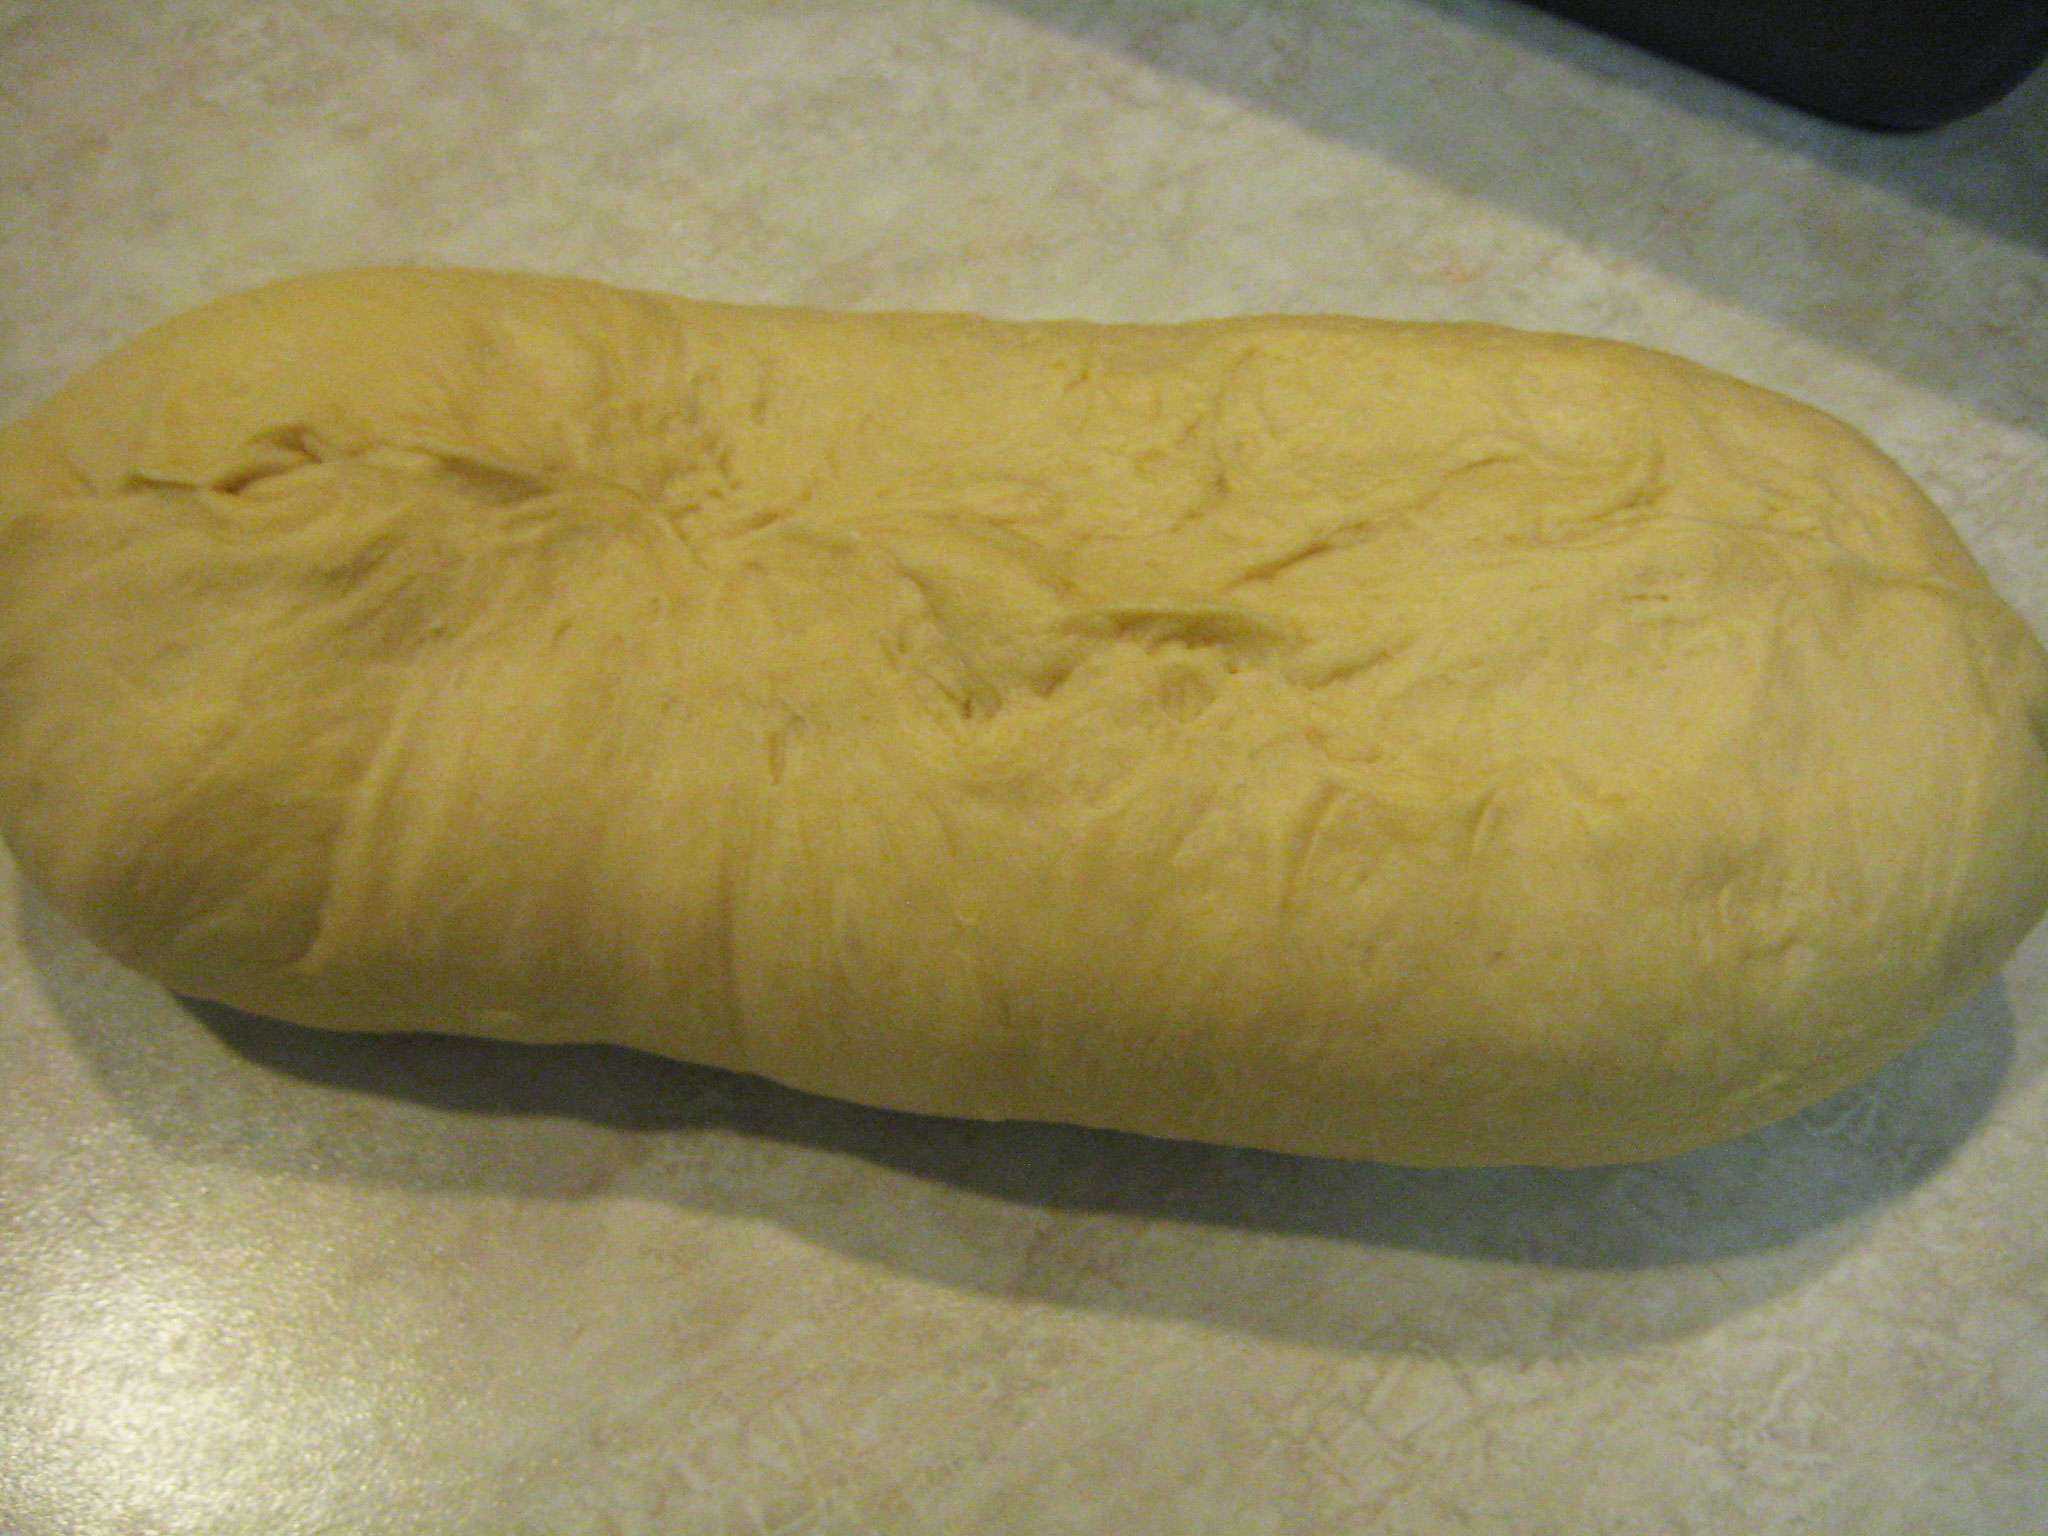
Step 8: Uncover the dough and punch it down. Turn the dough out onto a floured work surface and form it into a 12 x 8 inch rectangle (just eyeball it! Don’t worry about breaking out the ruler).
Make sure the long side of the dough is facing you, then tightly roll the dough twice as though you were making a jelly roll. Use your finger tips to pinch along the seam of the dough until it stays pinched and stops trying to roll open.
Repeat until your dough can only be rolled one more time. Before your final roll, fold the short edges of the dough in (like a burrito) so that the outside edges are smooth and rounded. Be sure to pinch the edges like we have already been doing for the rolls.
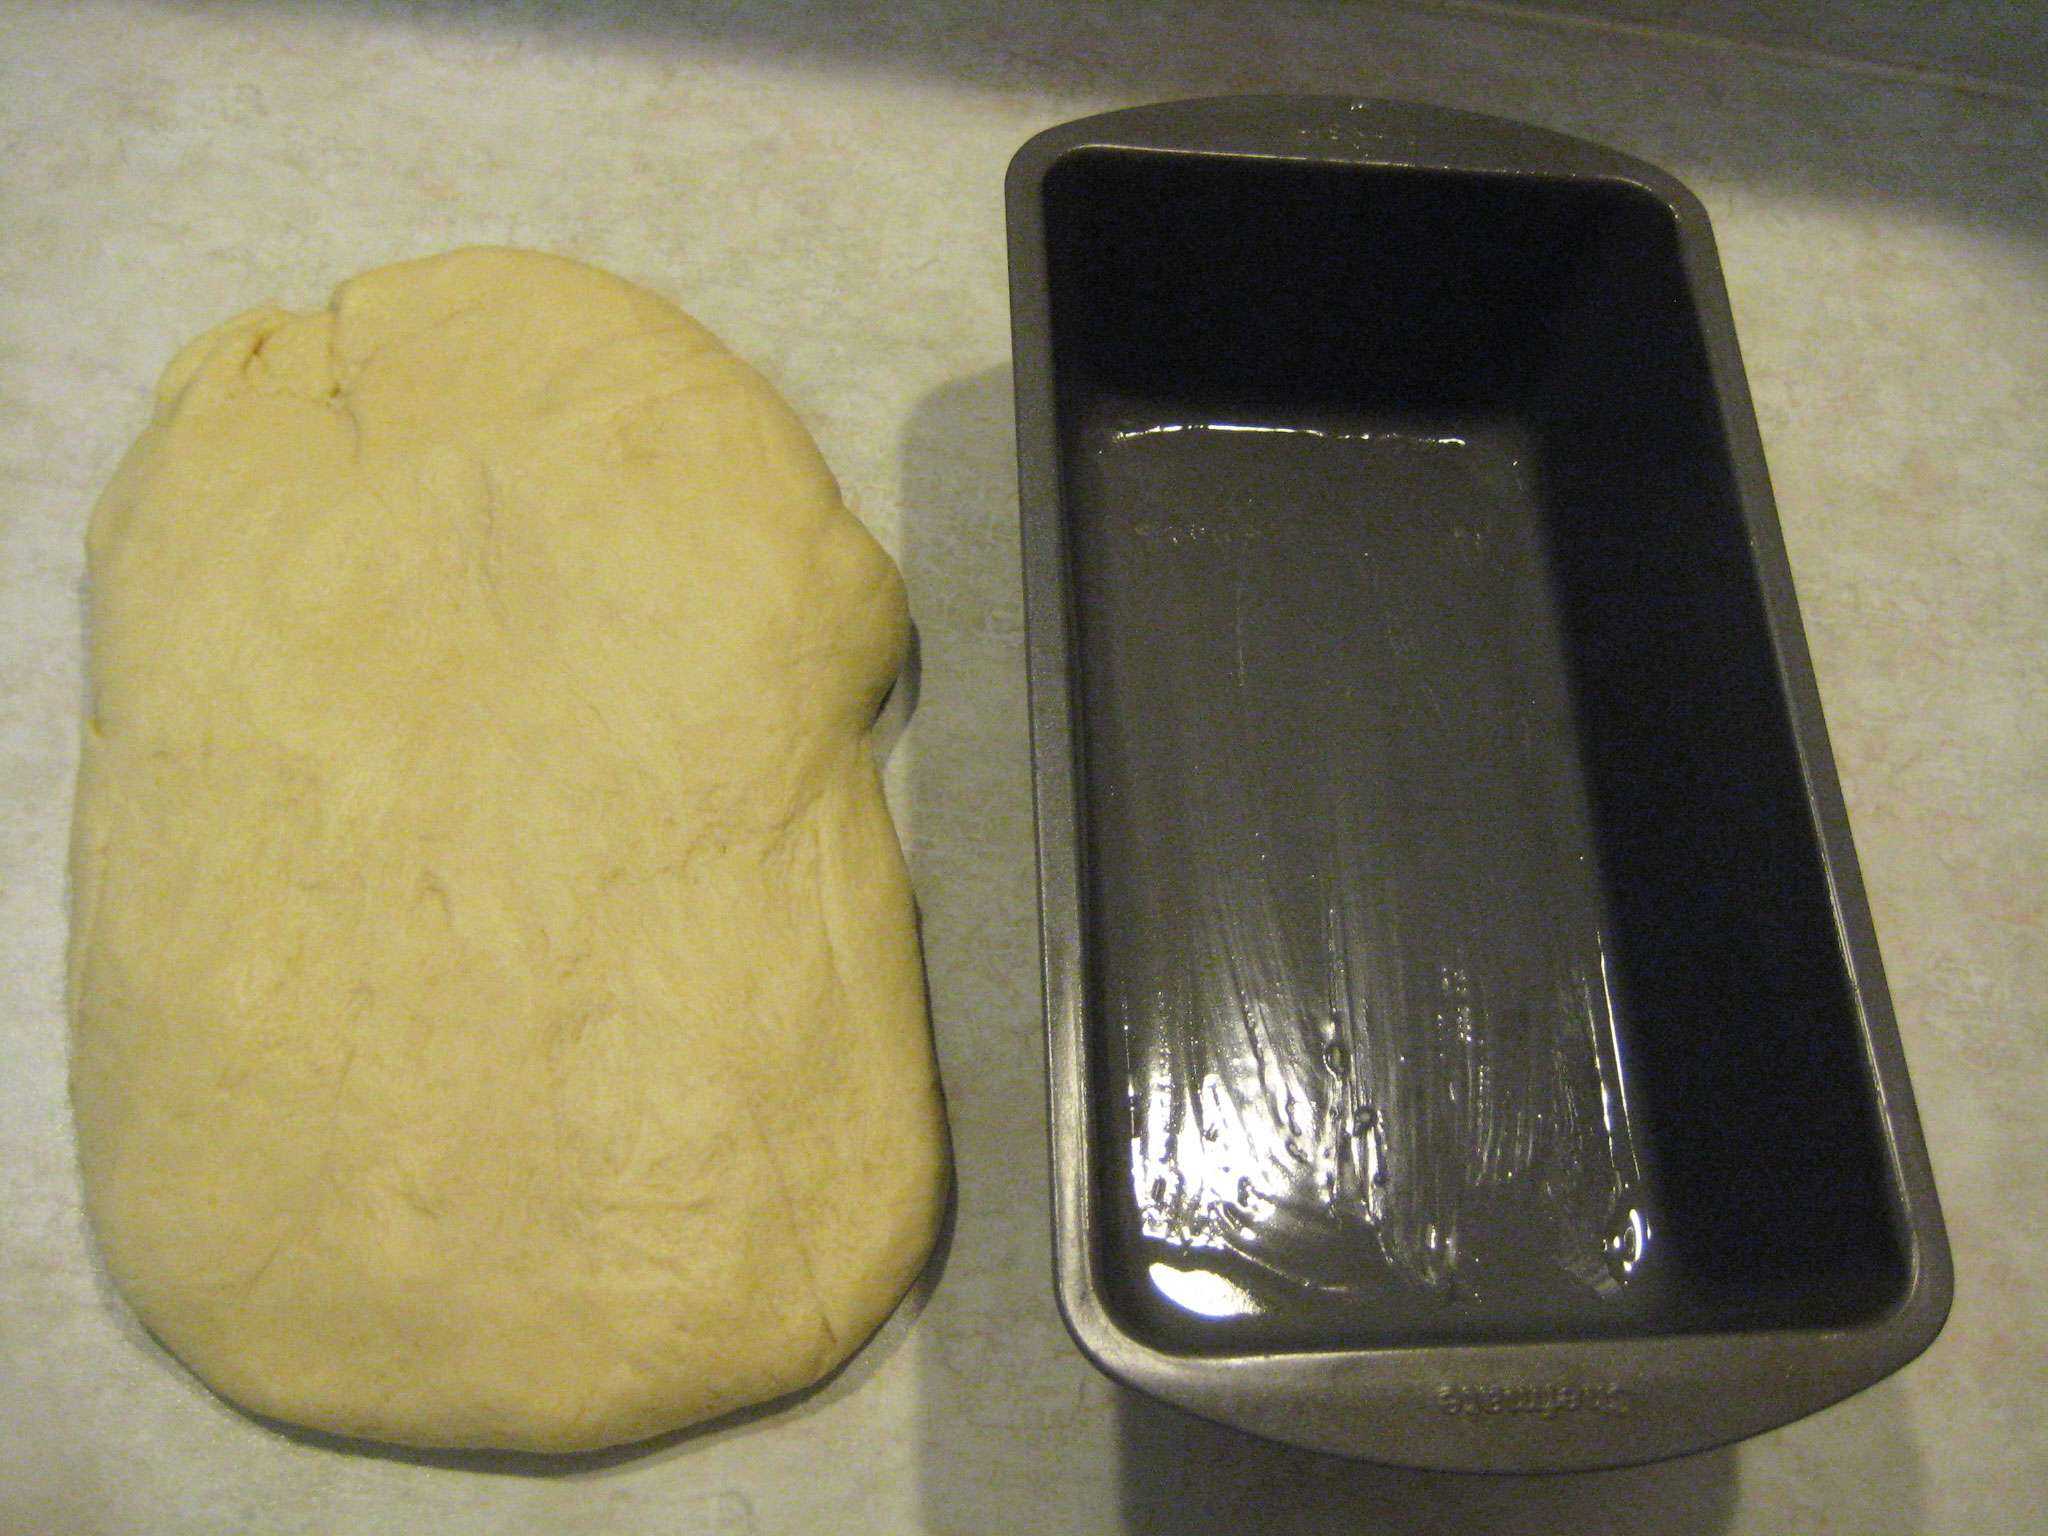
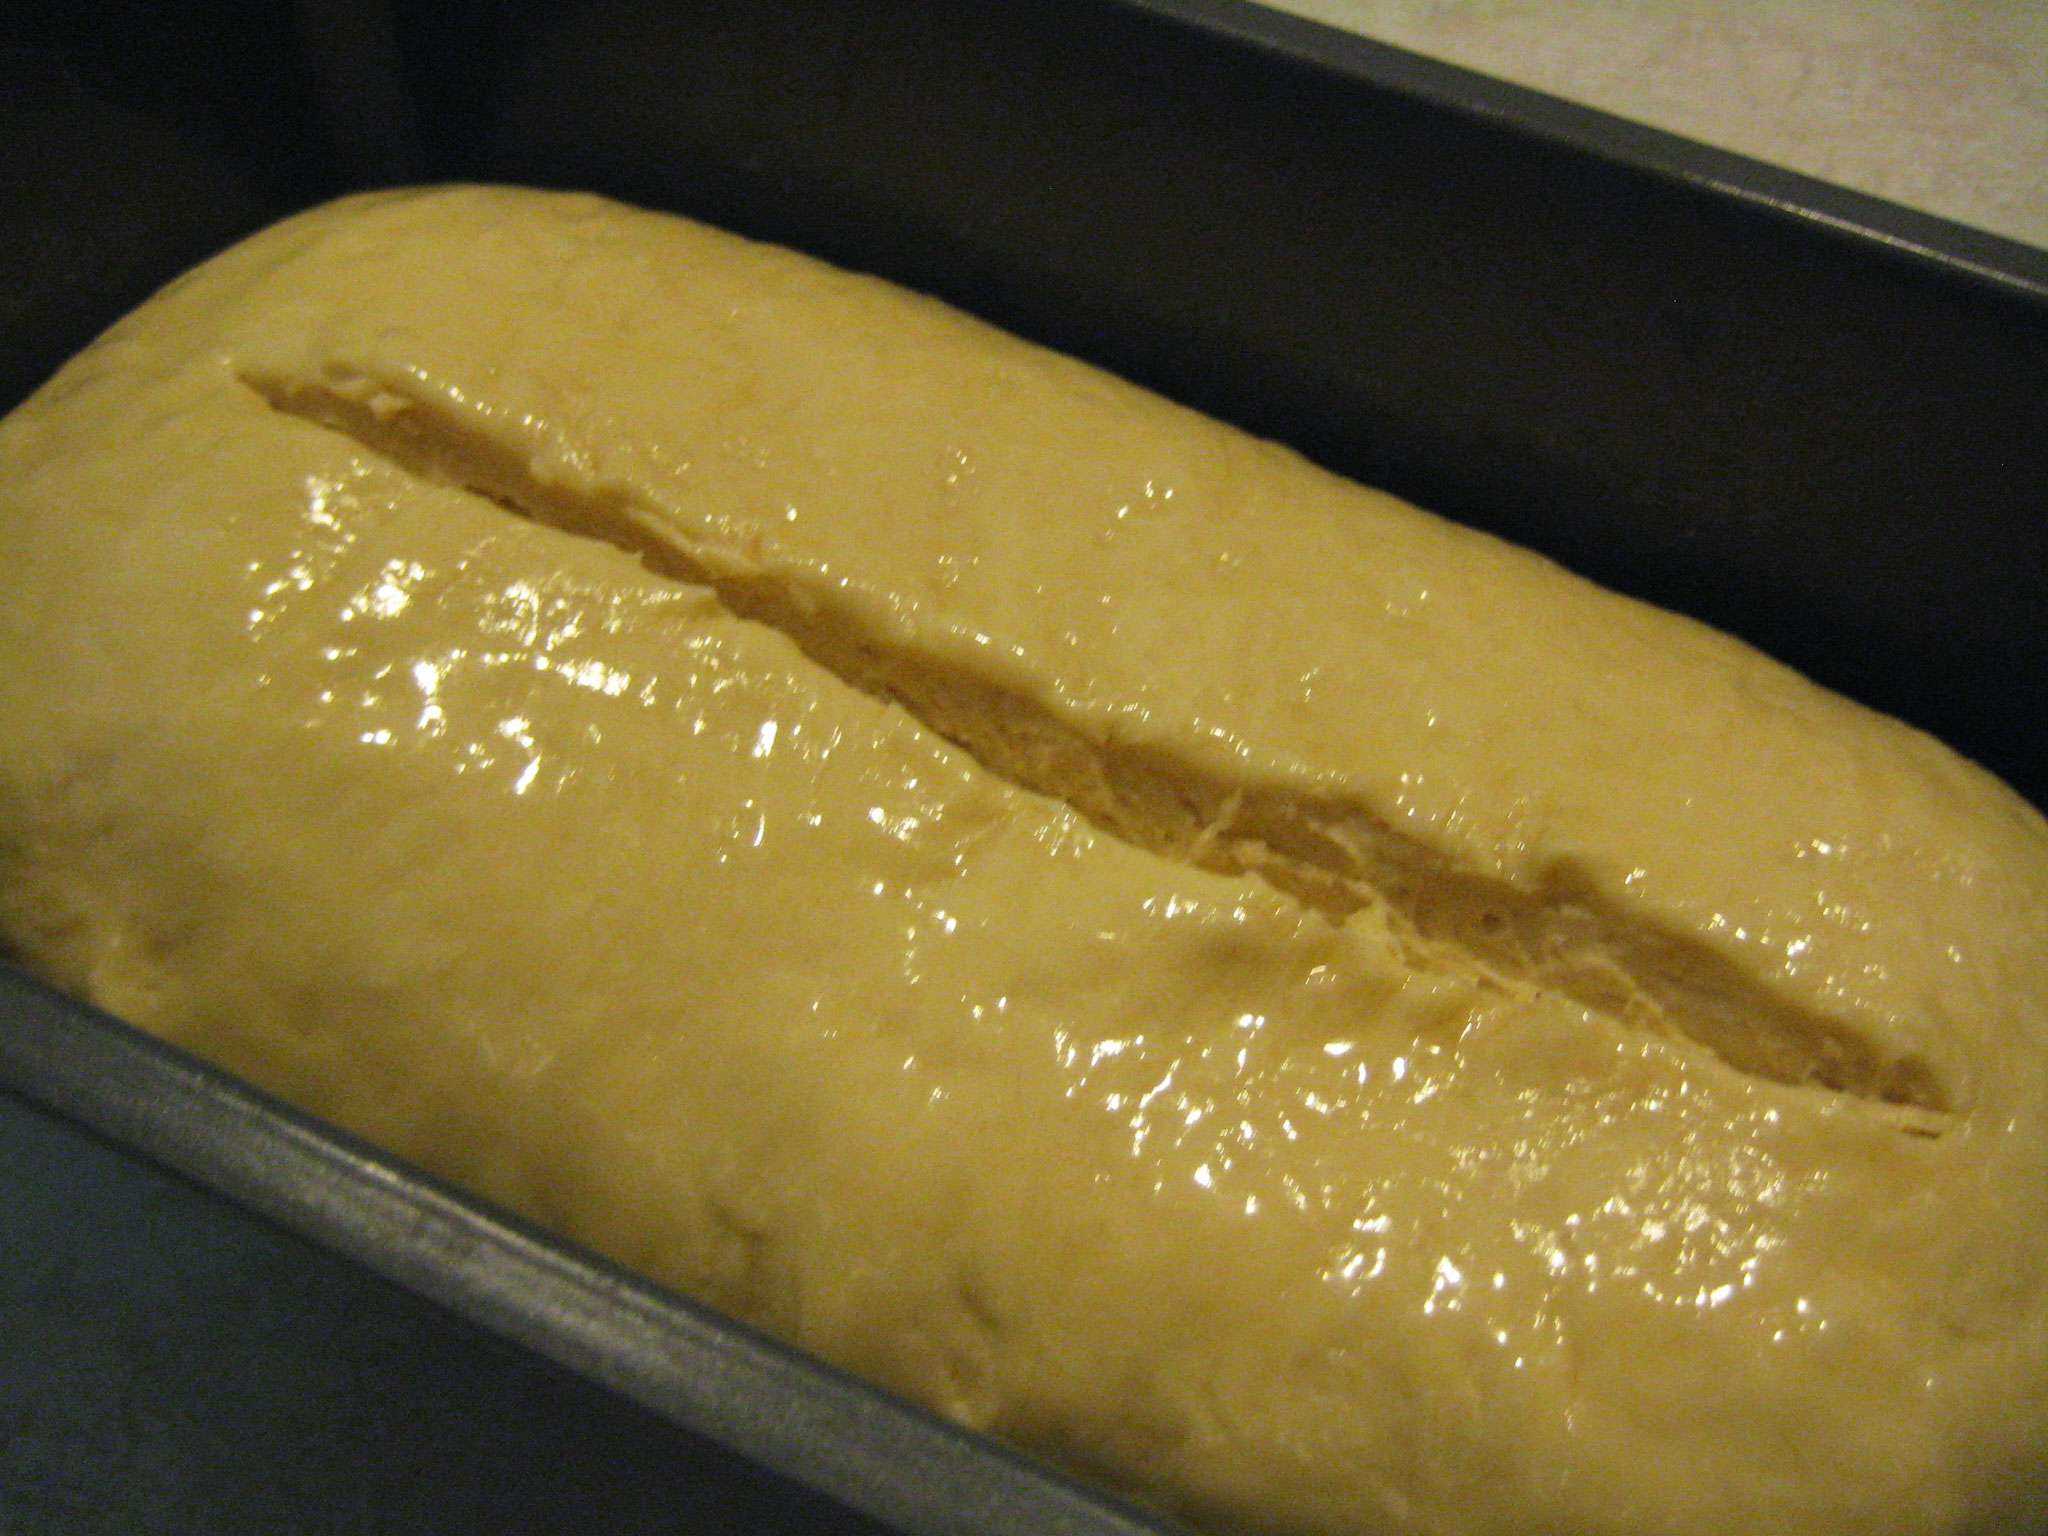
Tightly roll and pinch the dough into its final log shape. Press the dough seam-down in a buttered metal 9×5 inch loaf pan, making sure to smoosh the dough enough so that it touches all of the sides of the pan. (It’s okay if the dough shrinks back some after you move your hands.)
Using a paring knife or sharp kitchen shears, cut a quarter inch deep slash down the middle of the dough to give it room to rise. Brush the dough with melted butter. Dampen a large lint free towel or napkin and cover the pan and dough. Let the dough rise until doubled in bulk. It took my dough an hour at 70 degrees.

Step 9: Preheat the oven to 375. Remove the towel from the unbaked loaf and, if desired, brush the dough with more melted butter. Bake your bread on the middle rack of the oven for 35 to 45 minutes (checking through the oven window every two minutes after 35 minutes) or until the bread is golden brown, sounds hollow when you rap it with your knuckles, and smells like bread. (Skip that second test if you don’t have fireproof hands like me.)

Using a dry lint free towel or napkin, transfer the bread from the pan to a cooling rack. Allow the bread to cool to room temperature before slicing. Store in a bread box or bread bag, and keep in mind that the bread keeps longer if you only slice it as you need it.

Makes one 9×5″ loaf or about 16-20 hearty slices.
Michele Newell is a housewife turned blogger turned Home Ec 101 contributor. You can read her near daily ramblings at Dreams Unreal.

Oh, I love the aroma of fresh breads, and I’m going to try this recipe. It is so true about the breads we buy off the shelves at our stores. My husband is german, and he misses his breads from there. They are more dense and not like our breads here. I’ve been making more breads now and they really are better for sandwiches. Thanks for the tip, and I’m sure it will make people see what a difference it will make at their dinner table.
Fresh bread is one of life’s greatest joys. If you ask me, it’s right up there with puppy ears and kitten bellies and baby smell.
Michelle, your bread looks delicious. Every Sunday I cook a cake with my son. I think we’ll cook a bread this time! Thank for this long & very interesting post!
What a wonderful way to bond with your son. 🙂 I wish you the best of luck with the bread and hope that you enjoy! (Given your French name, I feel compelled to mention that it is delicious with beurre demi-sel . Just sayin’.)
Michele could you please help me. I have made sandwich bread before and my family doesn’t like it. They complain it falls apart when I make it into sandwiches for school. Is it just the recipes that I have used? Or is it something I am not using? It needs to be a white bread they are picky and do not like wheat. I have not tried your recipe yet. I am going to do it today
It could be one of several things: improper recipe, improper technique, or improper rise time. Many bread recipes don’t include eggs, milk, or butter, all things that help create a soft, fine crumb, so this recipe may be the answer to you problems. In addition to that, you need to make sure the dough is properly kneaded using the “poke test” described in step five; if you’re kneading by hand, this may take up to 20 minutes of active kneading.
Always let the dough rise until doubled, but do not allow it to get too big, as too much rise messes with the texture and can lead to chewy, tough bread. Finally, when rolling up the dough to fit it into the pan, roll it up as tightly as you can, then pinch the seams as tightly as possible (I pinch until you can barely see the seam anymore)–and always place the dough seam side down for the final rise in the pan.
Let me know how it turns out (or if you have any questions)! Good luck. 🙂